

Key takeaways
- To set up a snow cone station for a party, you need four zones on one sturdy table: ice production, cups and spoons, syrup.
To set up a snow cone station for a party, you need four zones on one sturdy table: ice production, cups and spoons, syrup, and a cleanup corner with a trash bin and wipes. Put them in a left-to-right line so guests move in one direction, and pre-measure the ice and syrup before the first guest arrives.
A snow cone table is one of the easiest party attractions to run, and also one of the easiest to turn into a sticky bottleneck. The difference is planning: how much ice you need, where the machine sits, how syrup is poured and who is allowed to touch what. This guide covers the layout, quantities, helper roles and a short checklist so your station runs smoothly from the first cone to the last.
Pick the Spot Before You Pick the Supplies
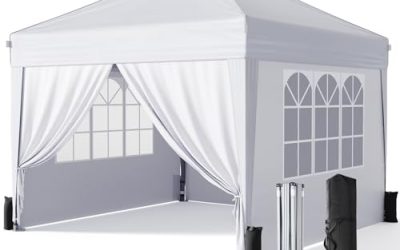
The right location solves half the problems. Choose a shaded, level spot close to a power outlet if you use an electric machine, and near a hose or sink if you can. Keep the station away from the main walkway so a line does not block the path to the food. Concrete or a tiled patio is easier to clean than grass or carpet, and a plastic tablecloth or a rubber mat protects the surface from syrup drips. Sunlight melts ice quickly, so an umbrella, canopy or the shade of a building is worth the effort.
The table itself should be sturdy. A shaver, a cooler and bottles add up to real weight, and a wobbly folding table is a spill waiting to happen. If you only have a small table, add a second one for cups and syrup so the ice work area is not crowded.
Plan Quantities Before the Party
Guests usually eat one to two cones each at a three-hour party, and kids often go back for a second. Plan for about two cups of shaved ice per cone and make a little extra. Syrup runs at roughly one to two ounces per cone, so a group of twenty with two cones each uses about forty to eighty ounces. It is easier to run out of ice than syrup, so build the ice plan first and keep a reserve in a cooler.
For flavors, three to five choices cover most crowds. Include at least one red, one blue and one other fruit flavor, and consider a sugar-free choice if guests have dietary needs. Label each bottle so guests can pick without asking.
Station Layout and Roles
Zone one: ice production
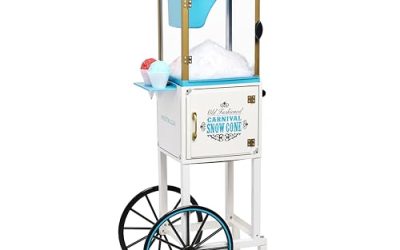
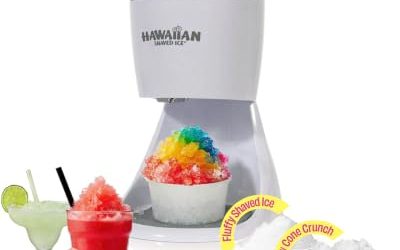
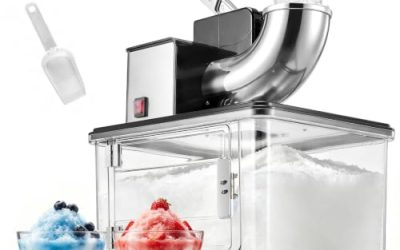
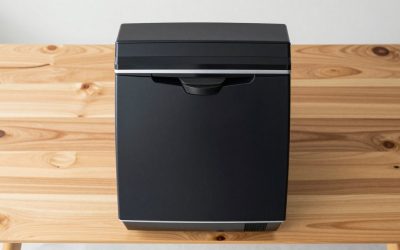
Place the shaver at the start of the line, close to your ice supply. Keep ice in a cooler beside the machine, and use a tray or towel underneath to catch drips. One adult should be the dedicated operator, especially if the machine has blades or moving parts, and kids should watch from the side.
Zone two: cups and spoons
Stack paper cups, cones and spoon-straws within reach but off the wet area. Cups that stay dry are easier to handle. Chill extra cups in a cooler if you can, because a cold cup slows melting.
Zone three: syrup bar
Line up syrup bottles in order of flavor and label them clearly. Pumps or squeeze bottles reduce mess and let kids serve themselves without flooding the cup. Place a tray under the bottles to catch drips and keep a damp cloth nearby.
Zone four: cleanup corner
Set a trash bin, a bucket for used spoons, wet wipes and paper towels at the exit end of the table. Guests will walk away sticky, and a wipe station keeps hands off the furniture and the car seats later.
Station Checklist Table
| Zone | What goes there | Common problem | Quick fix |
|---|---|---|---|
| Ice production | Shaver, cooler of ice, tray | Ice melts before use | Shade the table and keep the cooler closed |
| Cups and spoons | Cups, cones, spoon-straws | Cups get wet and soggy | Store them away from the ice area |
| Syrup bar | Labeled bottles, pumps, tray | Flavors get mixed up | Label bottles and place them in a fixed order |
| Cleanup corner | Bin, wipes, towels | Sticky hands on surfaces | Put wipes at the exit end of the line |
| Helper role | Operator and server | Crowding at the machine | Assign one adult per role |
Keeping Ice Cold and the Line Moving
Ice is the heart of the station, and heat is its enemy. Pre-freeze blocks or bags and keep them in a closed cooler. Fill the cooler with extra ice around the blocks so they stay firm. If you make ice at home, freeze it a day ahead, and avoid opening the cooler more than needed during the party.
To keep a line moving, shave a few cups ahead only if the party is hot and the line is long. Otherwise, make cones to order, so the texture stays fluffy. Ask guests to choose their flavor while they wait, then pour right away. A simple sign with the flavors helps, and so does a rule that each guest gets one cone before a second round begins. Done well, the 2026 backyard season will make a snow cone table the most photographed spot at the party.
A Simple Timeline for Party Day
Work backward from the start time. The day before, freeze your ice, buy cups and spoons, and label bottles. Two hours before guests arrive, set up the table, lay the mat, place the cooler and test the machine with a practice cone. One hour before, chill the cups, fill the cooler with ice and line up the syrup. Thirty minutes before, put out the signs, the wipes and the bin, and brief your helpers on who does what. A practice cone is not optional, because it shows you whether the ice is too hard, too soft or too wet while there is still time to fix it.
During the party, refresh the ice cooler every hour and wipe the table between rushes. After the last cone, empty melted water, rinse the machine parts that touched ice and syrup, and dry the blade before storing it. Leftover syrup should go back into sealed bottles, away from heat.
Weather is the one thing you cannot control, so have a backup. On a very hot day, shorten the serving window and keep cones small so they do not melt in hand. On a windy day, weigh down the tablecloth and keep napkins in a box. If rain threatens, a pop-up canopy or a covered porch keeps the station running. Think about allergies too. Ask the host or parents about food dyes or flavor concerns, and keep a plain ice option and a labeled sugar-free choice on the table for anyone who wants it.
Before You Start Checklist
- Choose a shaded, level spot near power if needed and away from the main walkway
- Cover the table with a plastic cloth or a mat and add a tray for drips
- Estimate cups, ice and syrup using two cups of ice and one to two ounces of syrup per cone
- Label every syrup bottle and set them in a fixed order
- Assign an adult to run the machine and another to help with serving
- Place a bin, wipes and paper towels at the exit end
- Keep a spare cooler of ice and extra cups out of sight as a reserve
Related guides
- Manual Vs Electric Ice Shavers Which Is Better For Home Use
- How To Make Fluffy Shaved Ice With A Manual Shaver
- How To Store Snow Cone Syrup So It Stays Fresh
Frequently Asked Questions
How much ice do I need for a party?
Plan on about two cups of shaved ice per cone and build in extra for second rounds. Keep reserve ice in a closed cooler so the supply does not melt away.
Can kids serve themselves?
They can pour syrup under supervision, especially with pumps or squeeze bottles. Keep the machine itself under adult control and teach kids to pour slowly.
How many flavors should I offer?
Three to five flavors cover most groups. Choose a red, a blue and a fruit option, and add a sugar-free choice if guests need one.
How do I keep the area from getting sticky?
Use a plastic tablecloth, trays under the bottles and a cleanup corner with wipes. Wipe drips as they happen so they do not dry into a film.
More from Amazon
Programs that pair well with the guide above. Offers and eligibility are set by Amazon and may change.
Set up recurring deliveries of everyday items on eligible products. Terms and savings are set by Amazon.
Explore Subscribe & SaveCollect the home and kitchen items you want in one registry that guests can shop from.
Create a wedding registryFree shipping on eligible items, Prime Video and more. Eligible new members can start with a free trial.
Start a Prime free trialAudiobooks and podcasts to listen to on the go. Eligible new members can start with a free trial.
Try Audible freeAs an Amazon Associate we earn from qualifying purchases.

Write Your Review
No reviews yet. Be the first to share your experience!